
How Rachel connects fruit picking to climate action
Cultivating a healthier and more sustainable Toronto, one fruit tree at a time.
How Rachel connects fruit picking to climate action

‘Peeling’ back an old label
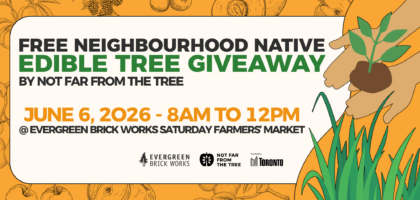
Free Tree Giveaway 2026
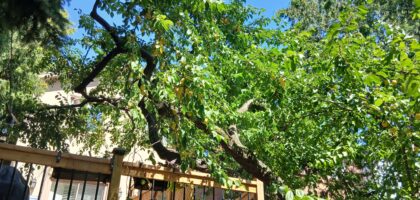
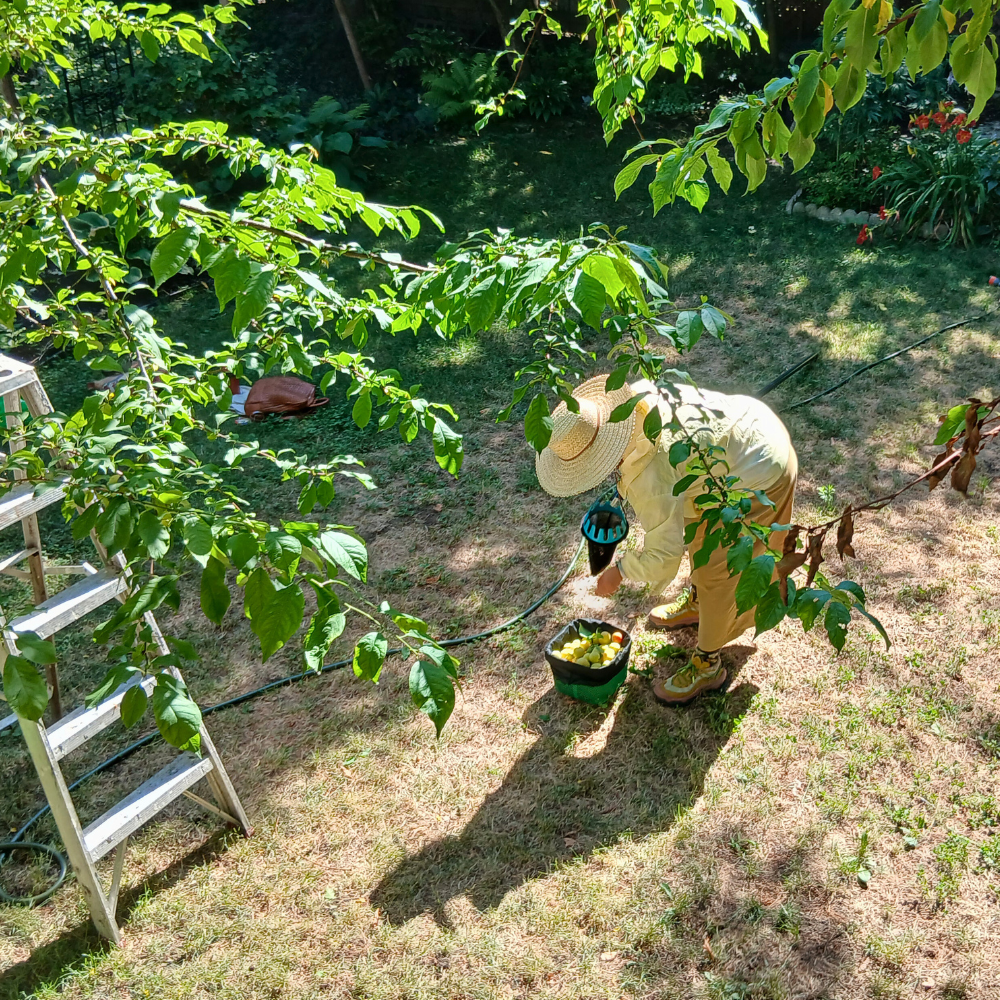
Backyard stories: bringing a plum tree back to its best
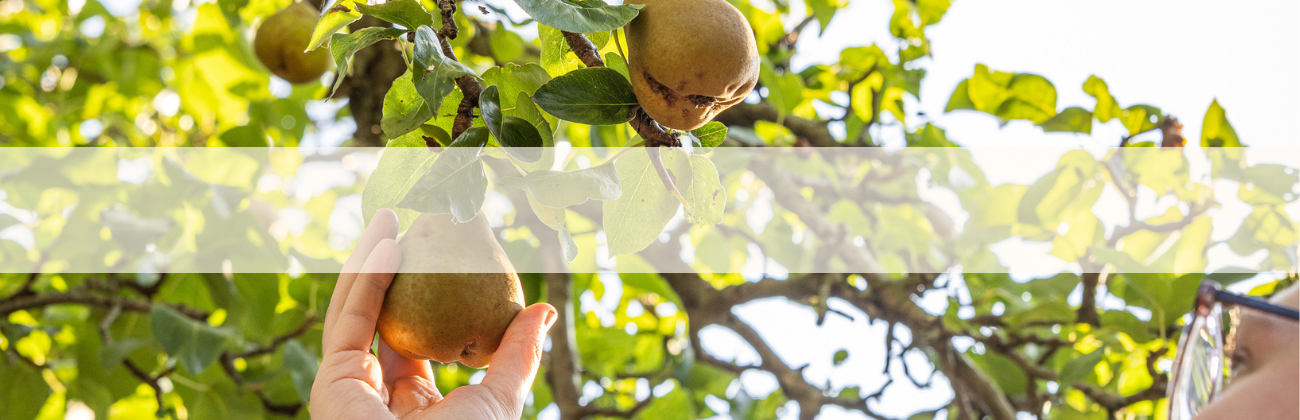
We harness the power of fruit trees to facilitate healthy, resilient, sustainable and connected communities across Toronto.
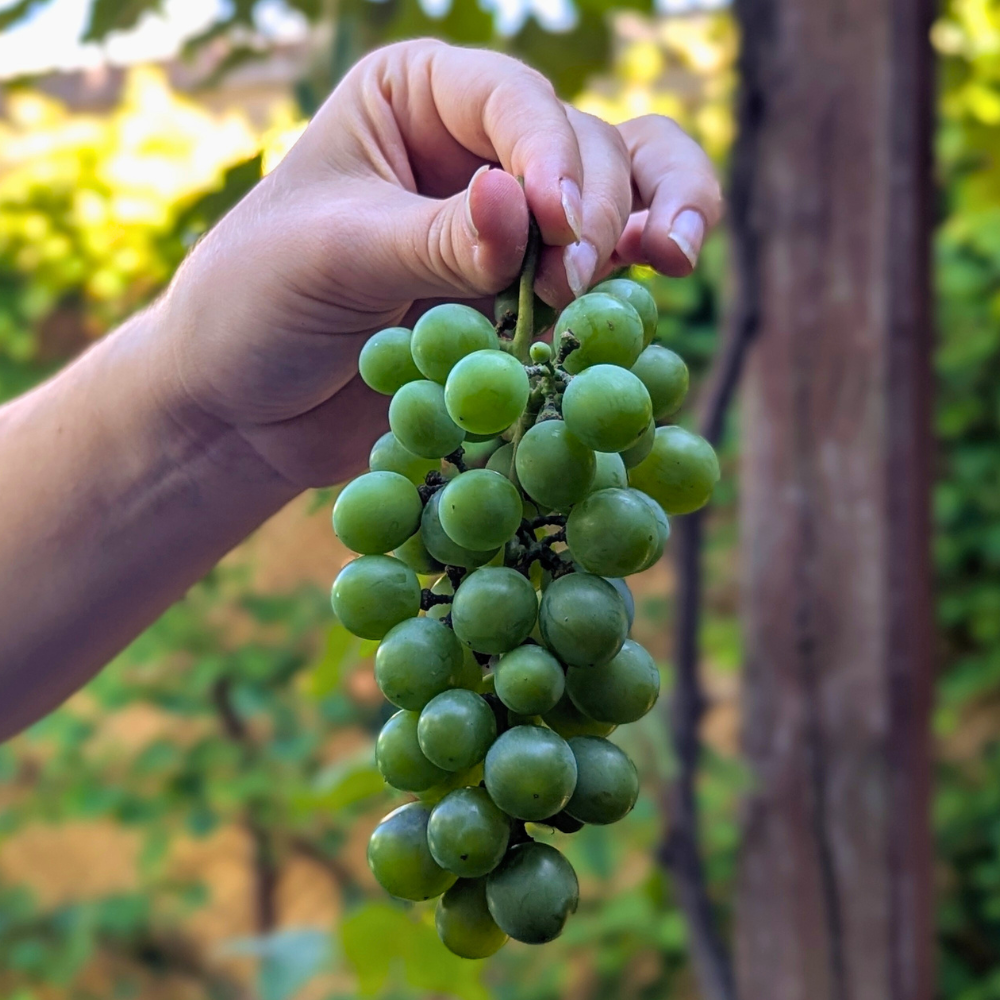
By picking and sharing overlooked fruit, we bring people closer together and create a stronger connection with our neighbours, environment, and food system.
Since 2008, Not Far From The Tree has helped harvest hundreds of thousands of pounds of fruit from yards across the city, donating a third to community groups tackling food insecurity.
With a dedicated community of over 1000 people, we have fed thousands and made a lasting difference in Toronto’s food system.

With your support, we can continue to connect neighbours, reduce food waste, and nourish communities one pick at a time.